Getting ready for the build
- Carefully check your plans and calculate your dimensions before ordering materials
- Enlist a minimum of two people to assemble and fix the partitions
Preparing to assemble the panels
- Decide a layout for your studio partitions, using the panel dimensions of 1200mm / 900mm for doors.
- Using duct tape, mark out your studio’s floor-plan on the ground
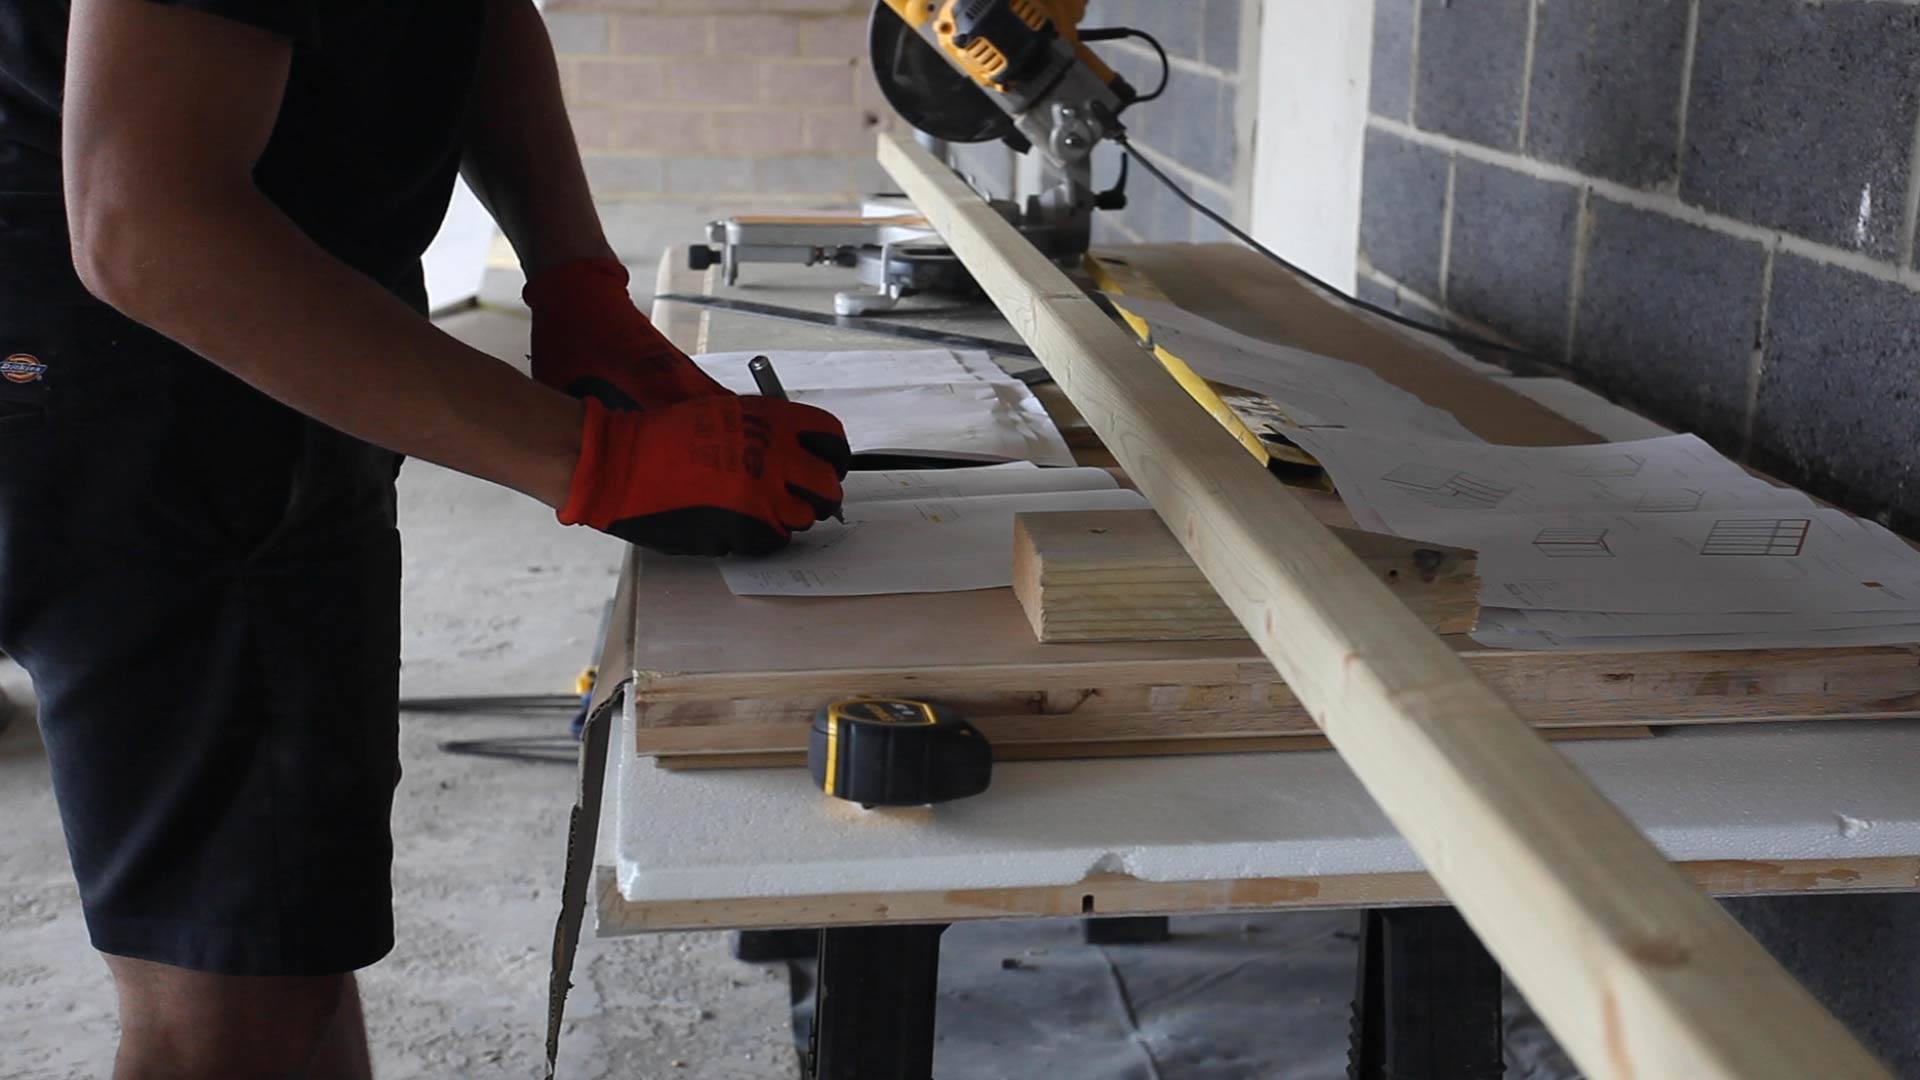
- Count the number of vertical timber studs needed and cut your 44x44x2400mm (PAR) down to 2360mm
- Use a chop saw with a jig if you have several vertical studs to cut
Assembling the individual wall panels
- Start by cutting 4 studs to form the width of the wall - these studs will make the bottom and top rails of the wall respectively
- Lay a single layer of framework on the floor, including a top rail, bottom rail and all the studs needed at 610mm centres. Position the frame so that the bottom rail abuts its respective duct tape line on the floor where you anticipate lifting it into position
- Fix all of the corners together with 80mm screws. (Be sure to drill a pilot hole with a 3-4mm drill bit before driving the screw to avoid splitting)
- Fix all of the studs to the top and bottom rails using 80mm screws
- Lay your chosen filler panels directly on top of the frame
- Fix each panel down with 40mm screws at 600 centres. Position the remaining side of the frame (following Step b) on top of the filler panels
- Use 100mm screws to fix the top frame through the filler panel and the bottom frame
- Using two people, carefully lift the panel up into position. If it’s the first panel to be lifted into place - temporarily affix off-cut lengths of timber to its sides. This will form diagonal braces enabling it to stay in position until the additional walls are fixed into place.
- Repeat the process and continue to build the frame on the floor to create the next wall. Lift the frame into position, ensuring the edges of the wall meet. Use 100mm to firmly fix the panels together at 300mm centres.
- Once all the walls are in place, fix the frames to the floor using the appropriate fixings for the given substrate
- Where a panel is unrestrained or is not affixed to other panels on corners - use additional timber lengths to form a brace and help secure the panels
- Construct door openings as 900mm outer frames made from 44x94mm PAR timber lengths, including a cross bar section above the level of the opening door leaf.Door openings should be fixed first as outer frames into wall panel configurations. Architraves, door stops, transom panels and the door leaf are then fitted directly onto this frame